
Milk Bar Mondays are back, folks!
Well… sort of. A long, long time ago, now, I joined with a group of lady bakers and bloggers to bake our way through Christina Tosi’s Milk Bar cookbook, headed up by Audra at The Baker Chick. But then, as often happens, our lives eventually got in the way of the sometimes lengthy, complicated recipes in the book; we changed schools, jobs and cities, some of us had babies (!), and our recipe priorities shifted. I’m sure we all value our blogs still for the many aspects of joy they bring to our lives, but I can’t say I’m surprised at our slow fizzle.
I wish, though, that I could have shared this cake with the other MBM ladies. Because it’s weird. Good weird, but weird. I made it for my dad’s 64th birthday, as the man adores pistachios and for many years bags of them have been stocking stuffers, random tokens of love and birthday gift toppers. So, despite the questionable potential of the cake’s general likeability, the copious amount of not-cheap pistachio nuts and pastes that went into it, and the somewhat lengthy procedure (that doesn’t feel that long, now, if I admit it to myself), this cake would be made.
And, damn, is it good. Weird good, but good.
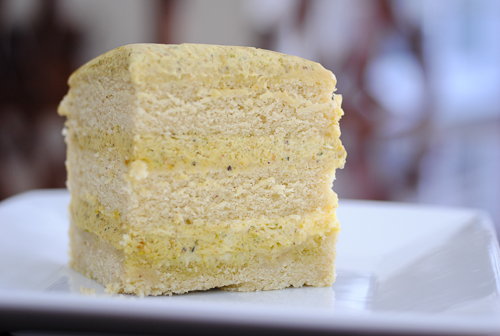
One thing I did completely different was the cake recipe itself; Tosi’s cakes often contain far too much butter for my taste, and no matter how I’ve tried adapting my flour blend I’ve always ended up with heavy, oily messes. So I made my little chicken-scratch sheet with the ingredient weights of her recipe and compared it to the Ratios for a basic pound cake and a random cake from Alton Brown’s I’m Just Here for More Food. I often refer to those books when coming up with a new cake batter, and this one definitely did not fail me. Also, I simply opted out of putting pistachio paste in the cake as Tosi does, because I just didn’t want to put so much moolah’s worth of ingredients into a cake that might not work. And sometimes my cakes don’t work. I did, however, use pistachio oil and a heavy grating of fresh nutmeg, and this cake is now one of my new favorites as a go-to cross between a dense pound and a fluffy birthday cake. It’s solid for layering, but would be delicious on its own with some ice cream, whipped cream or just a smear of lemon curd.
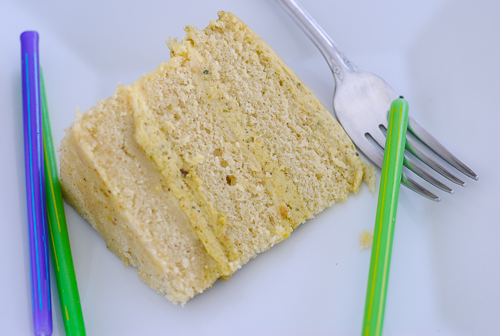
Oh, and this layer of lemon curd.
Tangy, bright, not hard to make (though my dad’s girlfriend stopped me at step two with, “Nope, too much work for me!”) and everyone adored it. It got nestled around a rich buttercream pistachio frosting. Then the whole lot got frozen, unmolded, smoothed out a bit and presented to my very happy daddy.
Things I learned from Christina Tosi, Alton Brown, and making this cake:
- Pistachio oil is delicious and I want to use it in baked goods more. Thank you, Christina.
- They both stress the importance of creaming butter, sugar and eggs until really light and fluffy, remarking that most people undercream their ingredients. I couldn’t agree more. For most of Tosi’s recipes I set a timer of 8 minutes. For this I think I did around 6.
- You threaten the fat/sugar bond of butter and sugar when you add an egg “one at a time” because the water in the egg white doesn’t want to play nice. So beat your eggs together to bind the water with the fat in the yolk, and then stream those in. They’ll become friends in no time. I can’t believe how long it took me to learn this; thank you, Alton Brown.
- Parchment your sheet pan. Just do it.
- When doing a layer cake in a cake ring, wax paper will not work. I ran out of acetate (that just-thick-enough plasticy molding stuff) to line my cake ring and, in desperation, tried wax paper. It wasn’t the worst idea in the world, but this cake is definitely not as pretty as the Birthday Layer Cake or Chocolate Mallow Layer Cake.
I do highly suggest making this cake for something rather exotic and exciting when you’re whipping up a birthday cake for someone special. Enjoy, and check out Erin at Big Fat Baker who will be posting this recipe in original form today!
– Jacqueline
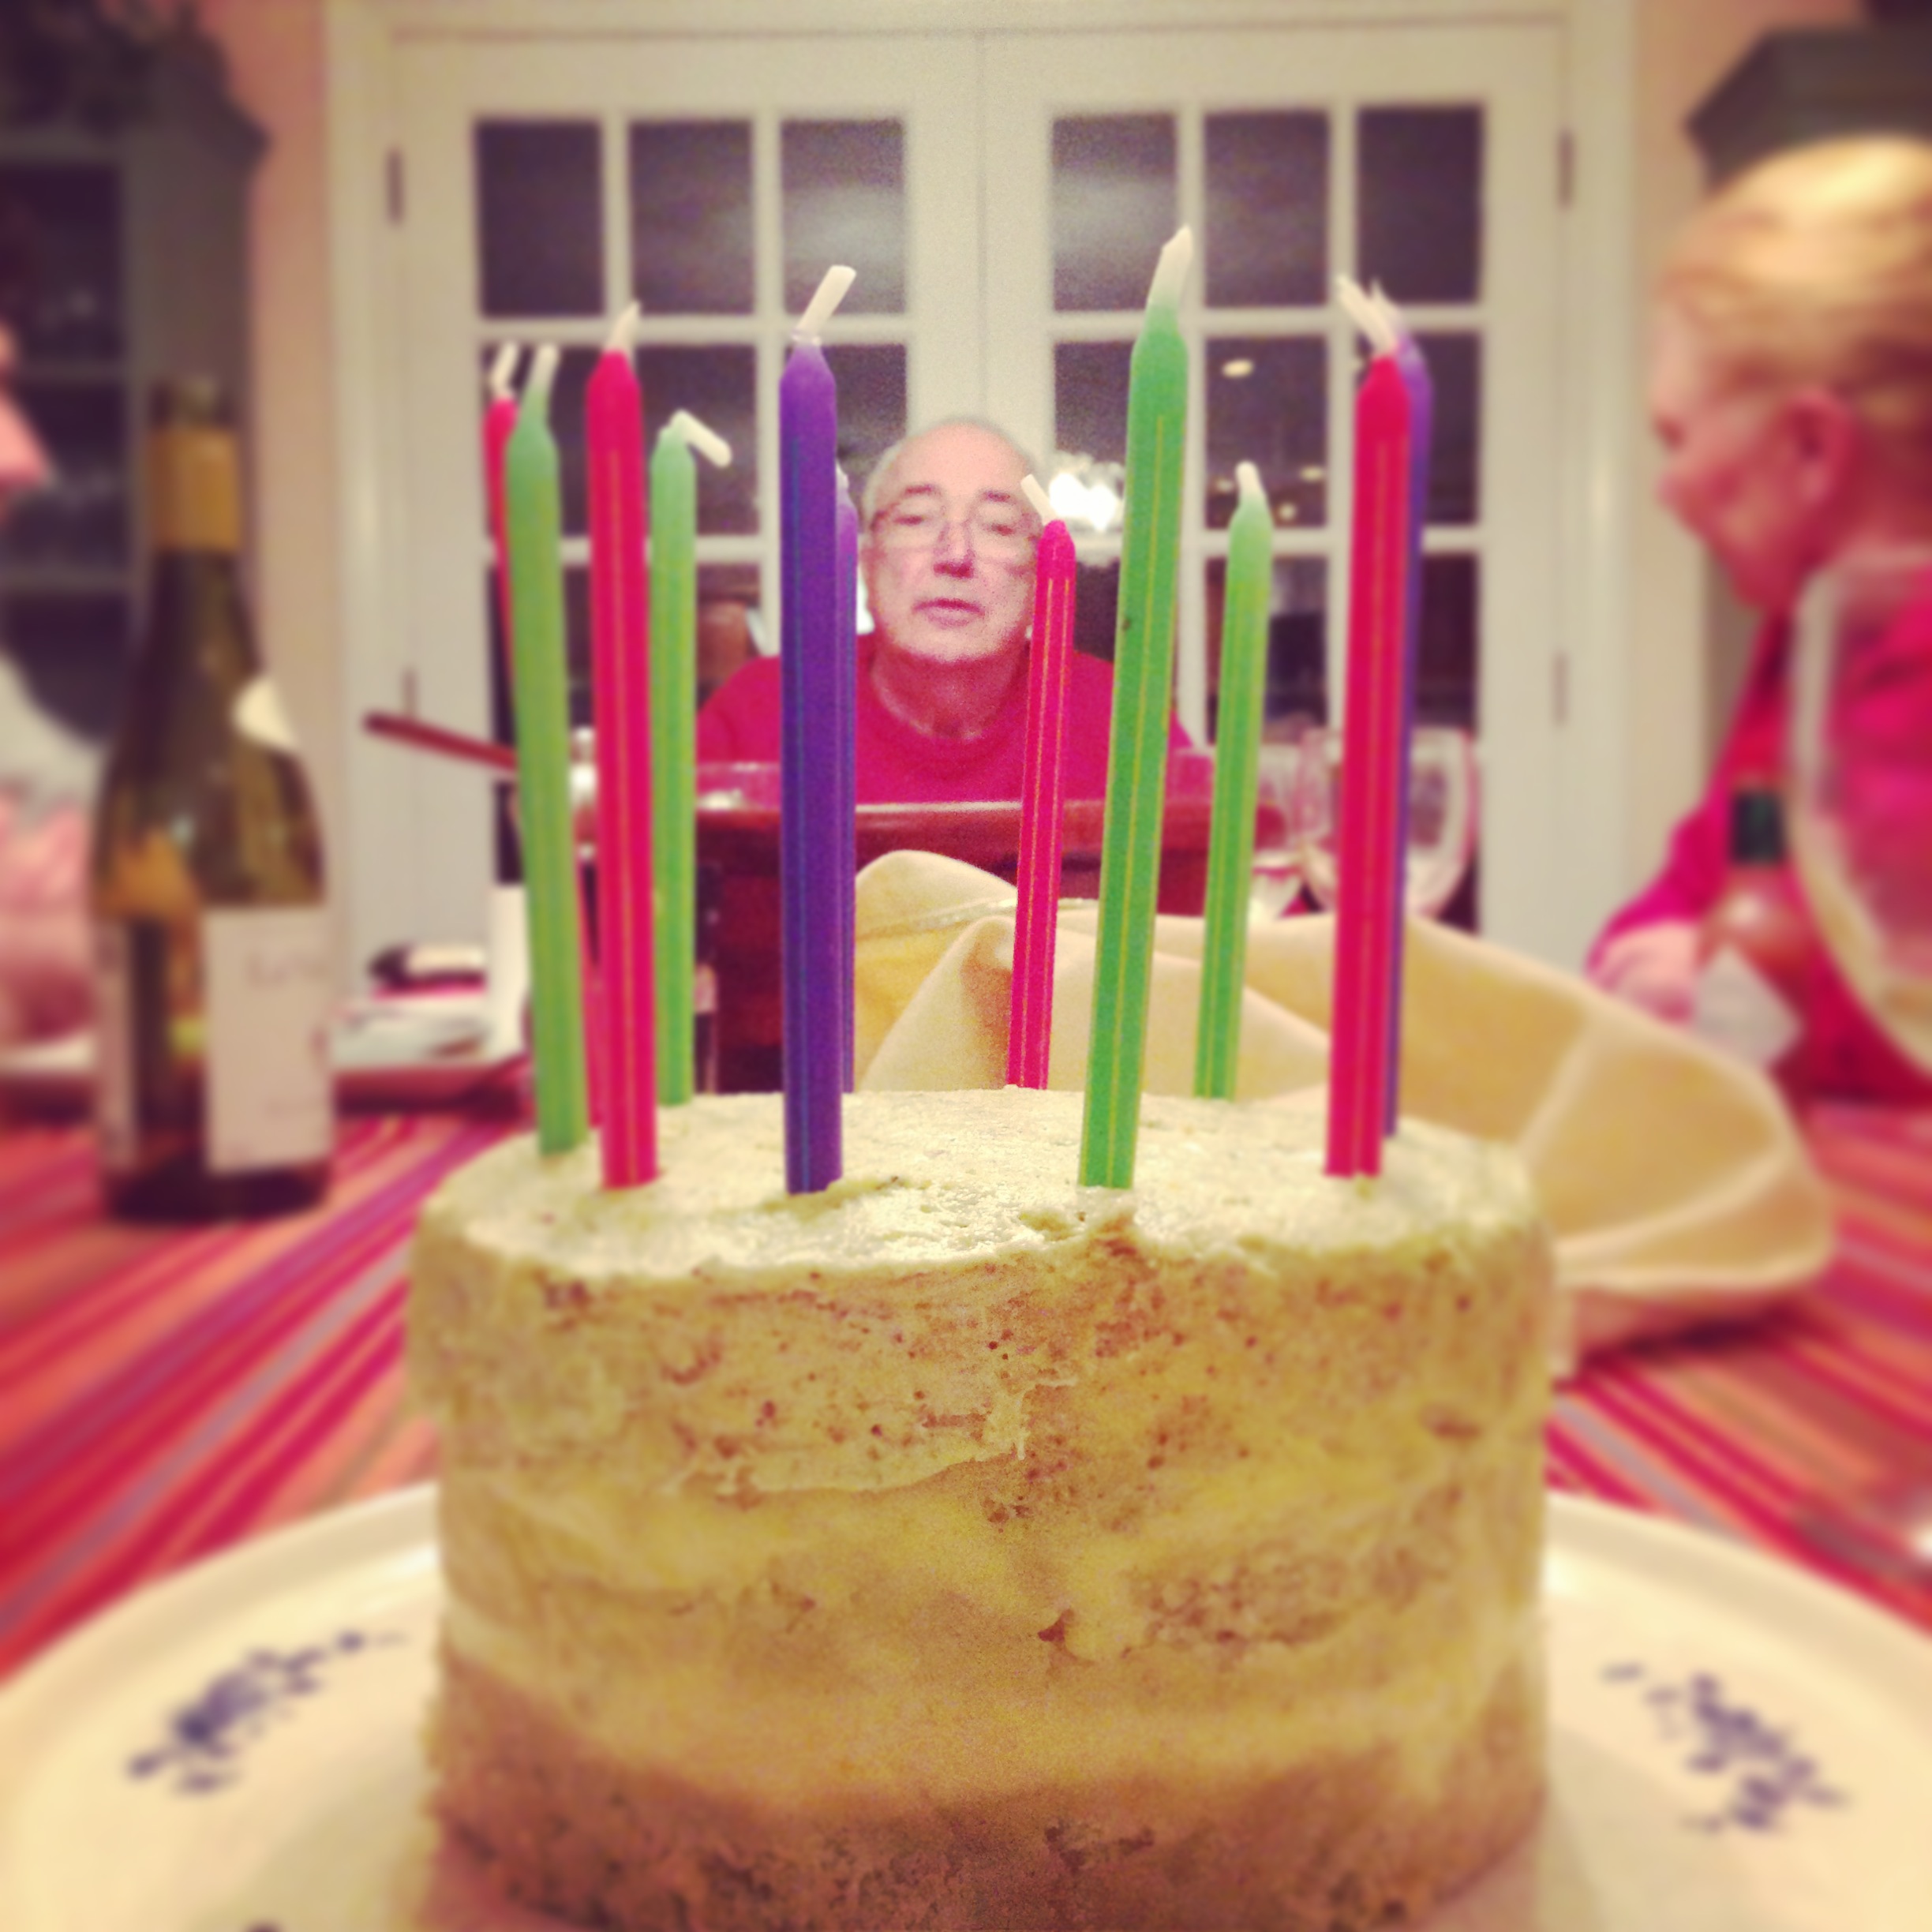
Happy Birthday Dusty Dad!
{gluten-free} Pistachio Layer Cake
Ingredients: Cake
- 8oz / 228g gluten-free cake flour blend (or I’d bet Pamela’s Products Aristanal Flour Blend would work wonders)(OR if you’re mixing flours, I’d say use 3 oz of something like brown or white rice, 3 oz of a starch like tapioca or arrowroot, and 2 oz of something delightfully soft like millet)
- 8g baking powder
- 4g kosher salt
- 1g freshly grated nutmeg
- 8oz unsalted butter, slightly softened
- 8oz white sugar
- 3 large eggs plus one egg yolk (about 5.8oz / 165g)
- 2 Tbsp pistachio oil
- 8oz milk of choice, not cold (I used unsweetened almond milk at room temp)
Directions: Cake
Preheat oven to 375 degrees and line a quarter sheet pan with a little grease and a layer of parchment.
Weigh out all dry ingredients and set aside.
In the bowl of a standing mixer fitted with the paddle attachment, cream butter and sugar together on medium/high speed until light and fluffy, about 2 minutes. Beat the eggs and yolk together, reduce the mixer to low, and stream in eggs. Increase speed to medium/high again, and cream until the ingredients are incredibly fluffy and pale, about 6 minutes.
Lower mixer to low speed, and alternate dry and wet ingredients, mixing until just combined (1/3 of the dry, 1/2 of the wet, 1/3 dry, 1/2 wet, 1/3 dry).
Pour the batter into the prepared pan, and bake for around 22 minutes, until the edges of the cake are very set and the center is only very slightly jiggly. Set aside to cool completely.
Ingredients: Lemon Curd
- 3 large lemons
- 100g white sugar
- 4 whole large eggs
- 1 gelatin sheet (or 1/2 tsp powdered gelatin)
- 1 stick unsalted butter, very cold
- 1/2 tsp kosher salt
Directions: Lemon Curd
Use a Microplane or very fine grater to zest the lemons, making sure to get only the top layer of skin. Squeeze 1/3 cup of juice from the lemons. Put the zest, juice and sugar into a blender and blend until the sugar has dissolved. Add the eggs and blend on love until you have a thick, bright-yellow mixture. Transfer the contents to a medium saucepan and clean the blender.
Bloom the gelatin (for instructions on how, check out the “Get It Right or Do It Twice” section on Tosi’s page)
Heat the lemon mixture over low heat, whisking constantly. After a few minutes the mixture will thicken delightfully (this will happen. Be patient!), so keep whisking so the bottom doesn’t cook and burn. As soon as it starts boiling, transfer to the blender. Add the bloomed gelatin, butter and salt, and blend until the mixture is thick, and beautifully glossy. Here Tosi instructs to strain out any lumps and the zest with a fine-mesh sieve, but I didn’t have one on hand and, because I only lightly grated the upermost lemon skin, I didn’t notice a weird texture. I love it all in!
Transfer to a heatproof container and refrigerate until it has cooled completely, at least a half hour.
Ingredients: Pistachio Frosting
- 1 stick of unsalted butter, at room temp
- 1 cup of pisctachio paste (I made this by finely chopping pistachios in my food processor and slowly adding pistachio oil until I got a smooth paste)
- 1 cup powdered sugar (or more or less to your desired thickness / sweetness)
- a pinch of kosher salt
Directions: Pistachio Frosting
In a standing mixer with a paddle attachment (or hand mixer!), beat the butter and pistachio paste until smooth. Add the powdered sugar 1/4 cup at a time and salt, and beat to combine. Keep adding powdered sugar until you get the texture and sweetness you like (1 cup did it for me, though Tosi’s only has 1/4 altogether, so go with your own thing).
Directions: Building the cake
With a 6-inch cake ring, cut out two circles from the sheet pan of cake. The scraps will make your bottom layer.
Line a quarter sheet pan or freezer-safe tray with silpat or parchment, and place the ring in the center. Line the ring with a 6″ high strip of acetate (or wax paper if you’re desperate). Take the non-circle scraps of cake and press them into the bottom of the ring, scrunching them together until you get a smooth surface. Brush with a hefty dose of pistachio oil. Place a good health dob of lemon curd in the center (about 1/3 of the recipe) and smooth it to within 1/2 inch of the edges. Layer 1/3 of the pistachio frosting gently on top and then around it. Top with one of the cake circles.
Add a second layer of acetate / wax paper so that you build a sort of cone that will rise above all sides of the cake, helping to shape and nestle the cake within. Repeat the oil / curd / frosting layers step. Top with remaining cake circle.
Brush the top layer with pistachio oil, then fill smoothly with pistachio frosting. You may have a little frosting left over, which is great for touching up the cake later or eating with a spoon.
Freeze the cake at least 12 hours or over night, and set in fridge 4 hours before serving.
Unmold, candle, and devour!


My dad also loves pistachios and I try to make him something with pistachios for his birthdays too. Love this cake for a real special occasion!
Yummy!
Pingback: Pistachio Layer Cake
This cake was weird… I wasn’t convinced it was going to be good. Once I put it all together it was fabulous. This is one of the few I would make again. I think it’s the best spring cake. The lemony tangy with the toasted nutty-ness of the cake a creamy frosting… wow. I love how thick your cake and filling layers are. I wish I would have made double the frosting b/c it was so much better than I expected to be, and I skimped in my layers a little. Oh well. Great pick! I can’t wait to do another MBM :)
I’m super impressed with this cake! My dad likes pistachios too, but I don’t think I can make this for him yet – maybe when my kids are bigger and I have more time, ha. But it’s beautiful and looks so good. Nice job!
-Dana