
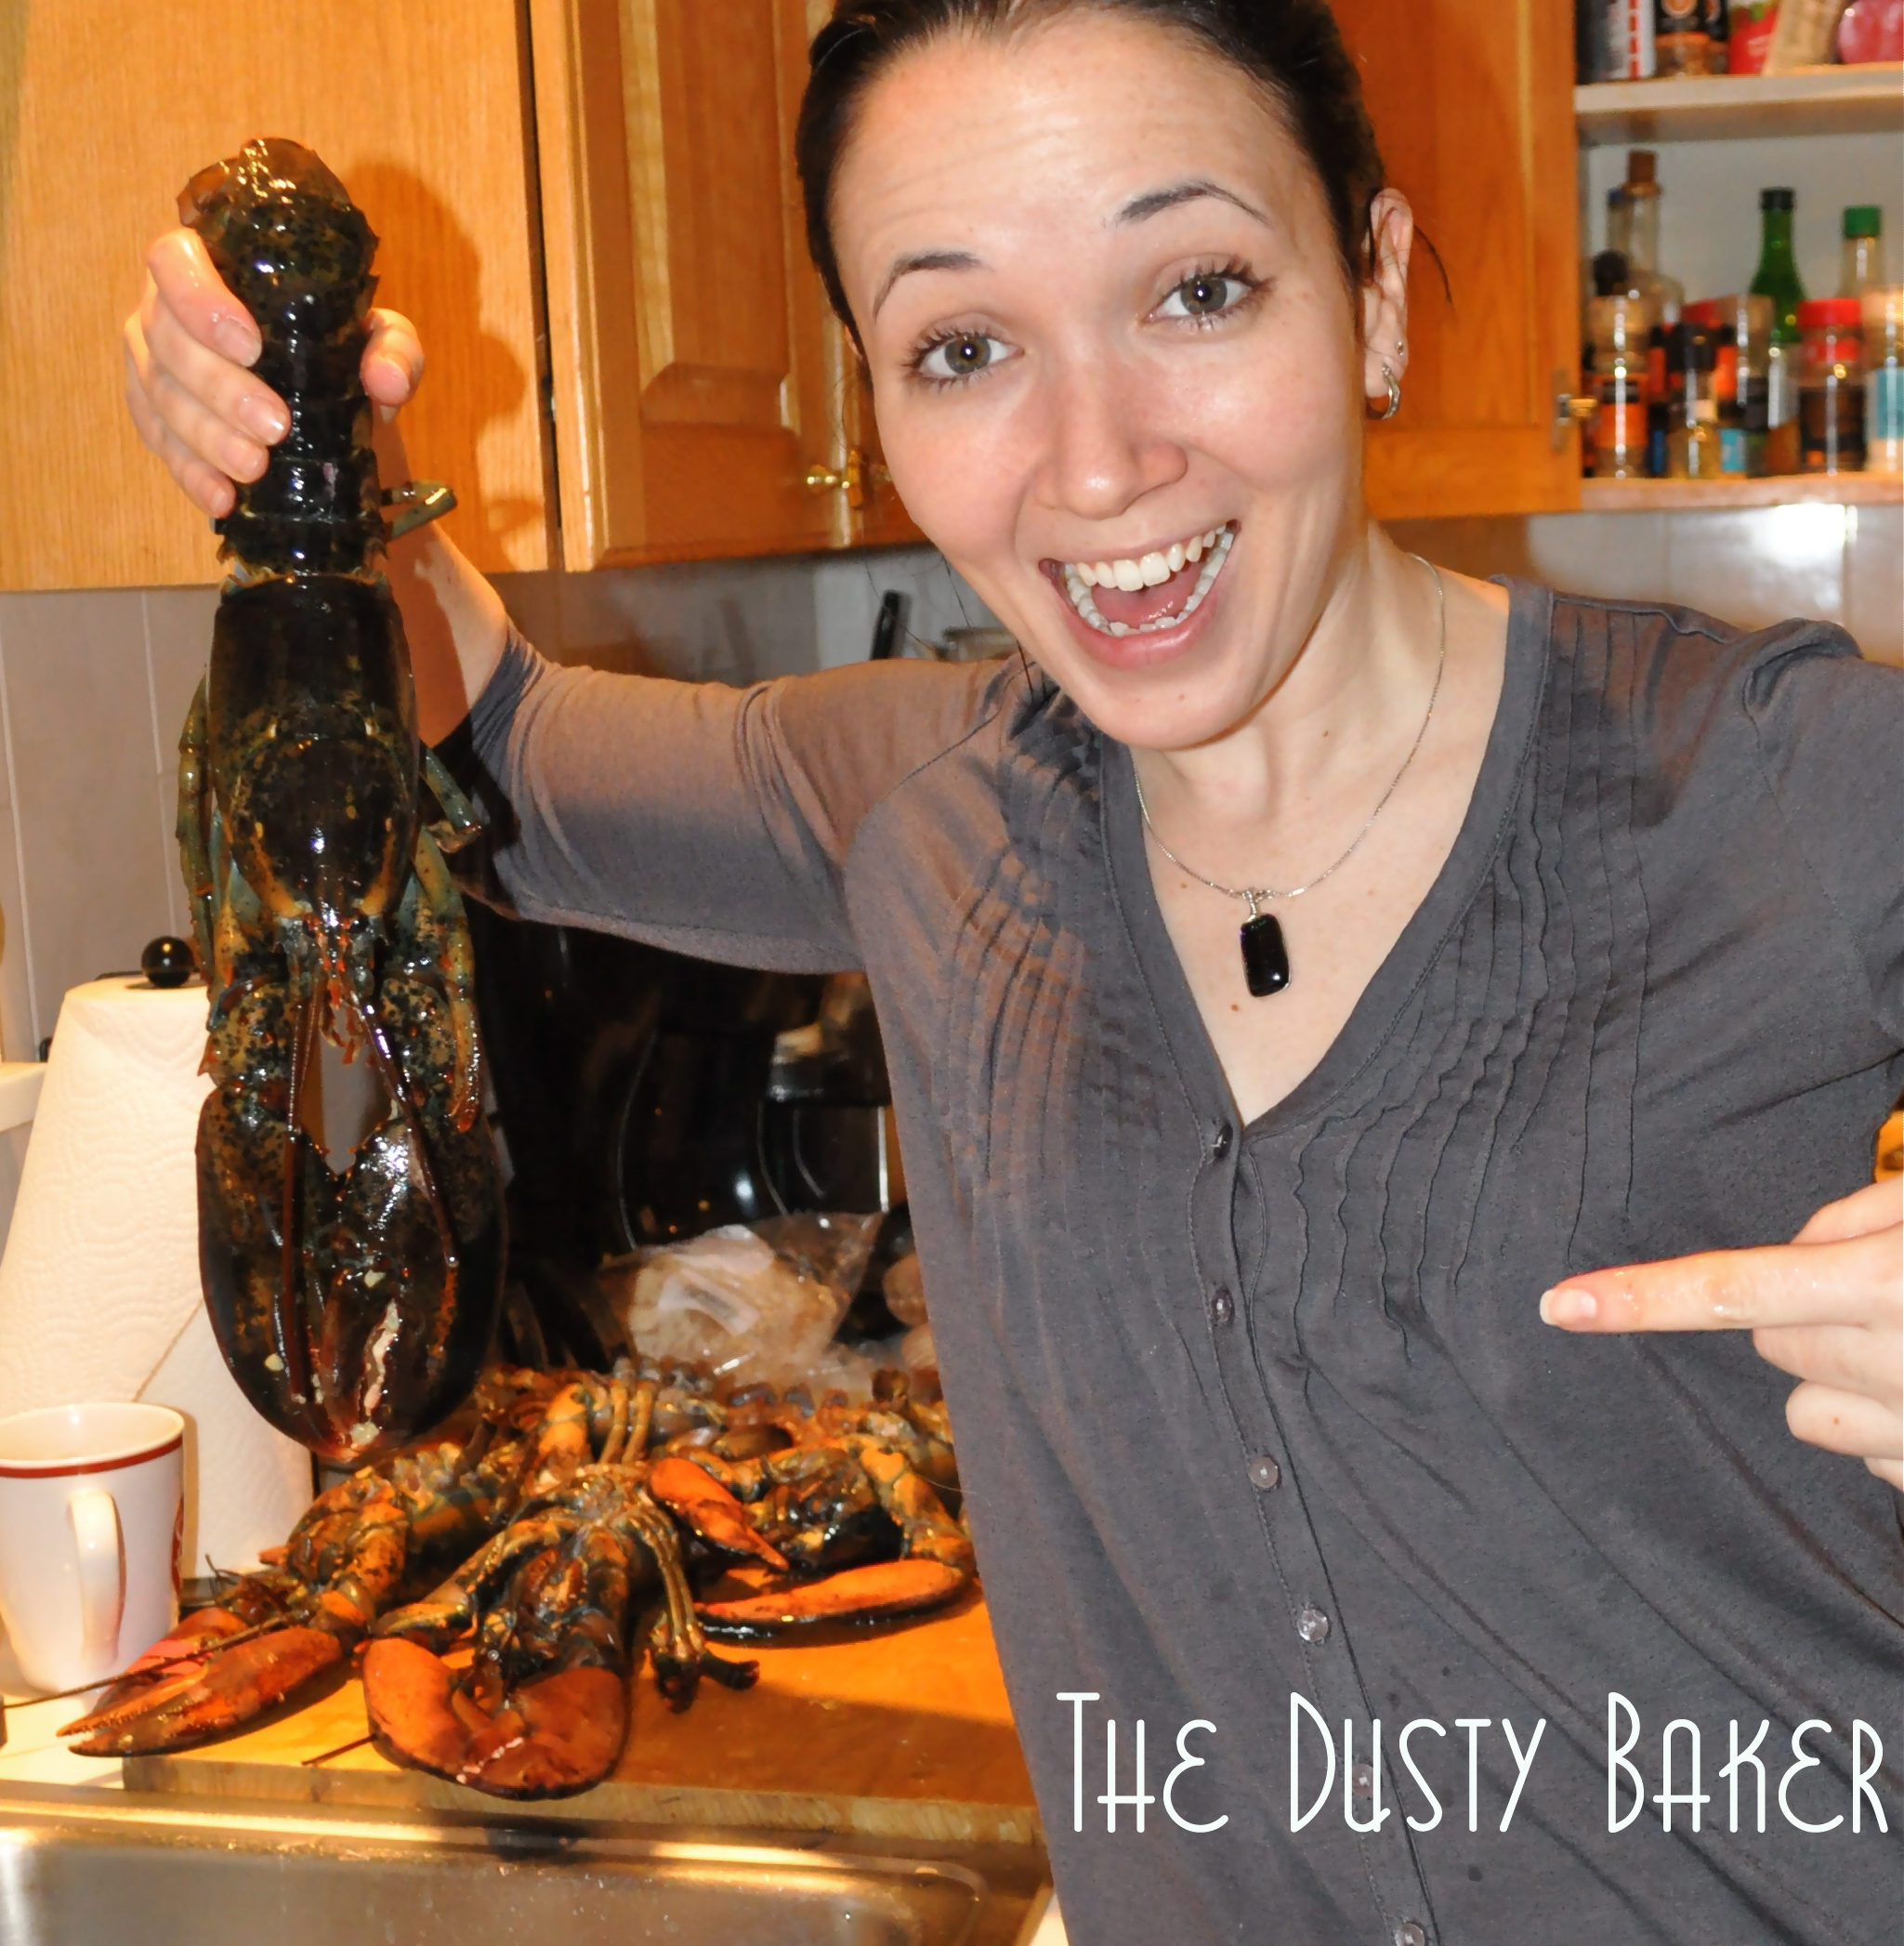
Phat Tuesday Lobster Dinner
I’ve never read anywhere that a fish dinner during the Mardi Gras / Lenten season couldn’t mean LOBSTER. I mean, wasn’t lobster formerly the poor man’s dish?
Personally, I am not a Christian. But I was raised in a very Catholic family and still have respect for the faith and, particularly, the period of mindfulness that comes with the 40 days before the celebration of Easter. And the gluttony that’s inevitable on the eve of those 40 days.
And I like fish. Acoreans are fishing people. We know how to cook it up.
In truth, it was my father who requested this dinner last week. I was fed lobster for my first birthday in a summer celebration that would quickly become tradition in my family, and my father’s stuffed lobster dinner became a meal I naturally inherited and serve for birthdays and such special occasions. Dad was away for his birthday this year, so tonight was a bit of a post-birthday celebration.
If we were enjoying the summer months I’d serve this with boiled corn on the cob and a salad. But as it’s still frigid in my hometown in Connecticut, I opted for recent favorites Ralph Macchio Dancing Potatoes and, for a little healthy green, Kamui Den Cold Aparagus Salad. Along with too much red wine and a bit of Portuguese corn bread.
Now, like many European cultures, the Portuguese are loose with the amount of their “ingredients”. They don’t measure their amounts and are skilled at utilizing what’s on hand. And there’s a pride in knowing that your particular recipe is yours. And that means it’s yours every time too – as changeable as what’s in your cupboard or what looks best in season.
I often use beer or white wine in this recipe; because I wanted it completely gluten-free and wanted to feature fresh lemon I used neither. Sometimes I include diced onion; tonight I didn’t have any. I completely forgot that fresh parsley makes it sing. I ran out of regular gluten-free bread that I had toasted and dried so I threw in some soft gluten-free corn bread that my dad brought me from Fall River (a mecca for Portuguese on the east coast of the U.S.). I’ve made this recipe two dozen times – always differently.
Tonight, my sister remarked that she liked it better than my dad’s. I take that as a compliment, for this night only, knowing that the recipe, like the seasons and the people who make it, is different every time.
Note: The ingredients are listed PER PERSON. I suggest using these amounts as guidelines and estimating and being creative to taste.
Ingredients PER PERSON
- 1 lobster between 1.25 – 1.5 pound
- 1/2 can lump crab meat, with water/juice
- 1 large piece of bread of choice per person – I’ve used anything from regular sliced gluten-free bread to classic Italian or French bread. Either way, toast it well and allow it to cool completely before mixing.
- 1/2 Tbsp lemon juice plus one thick slice lemon
- 1/2 Tbsp hot sauce or salsa, heat depending on company. I used a Portuguese red pepper exclusive to where we get it in Fall River. Any good simple hot salsa works well, or Frank’s Red Hot to taste.
- 2 Tbsp butter, separated, melted
- white wine or beer to moisten – optional
- 2Tbsp fresh chopped parsley – optional
- Other options: minced garlic, minced parsley, sauteed celery, small scallops, lemon zest, lemon or orange rind.
Directions

Lobster Massacre
This is always the hardest part, for me anyway. I used to slice my way easily through and not bat an eye. But the older and more yogic I get, the more difficult it becomes. To the point that I had my father do it for me tonight. And my boyfriend suggested I watch Annie Hall before. Both very useful.
My recommendation for killing live lobsters for stuffing, though, is to use a sharp knife and dive in. Using bare hands or an oven mitt (making sure that their claws are safe with rubber bands – I made that mistake once!), hold the main body back side / tail down and slice sharply from the head to the middle of the body between the rows of legs. Doing so is the fastest way to kill them. Don’t be alarmed if they twitch for a while after – this is purely muscular. Set aside on a cutting board while you prepare the stuffing and preheat the oven to 375 degrees F.

Stuffing
In a large bowl, dump in crab meat. Tear toasted bread with your fingers into a combination of small pieces and crumbs. Add 1 Tbsp melted butter (per person), lemon, hot sauce, parsley, and enough beer or wine to make moist. I actually had no problem tonight not adding any extra liquid, but would have thrown in a splash of the red wine we were drinking if needed. VERY adaptable recipe.

Not for vegans.
Gut the lobsters. I actually find this part easier than the killing. Basically, you want to clean out any soft matter from the insides. I usually run the knife down from the head to the tail so that I’ve split the lobster length-wise, leaving the main shell intact. This way I can easily crack the middle cavity open and take out the digestive and reproductive tracts, which are basically all lobsters have. If it’s gooey, remove it. And maybe say a prayer of thanks for the little guy who’s about to nourish you deliciously.

Fill em and line em up
Distribute stuffing equally amongst lobsters, packing tightly into empty body cavity. Melt remaining butter and mix with a small additional amount of hot sauce if desired. Carefully pour equally into the crack you’ve made in the tail and onto the top of the stuffing. Cover with one slice of lemon.
Cover with tin foil and bake for approximately 25 minutes, or until lobsters are almost bright red. Uncover and turn up to broil. Broil for 5 minutes.

Vibrant bright red lobster
Remove from heat, allow to stand a few minutes and serve! There’s a good amount of butter in the recipe and good lobsters don’t need the addition of melted butter with serving. But a nice option would be to infuse some fresh herbs into melted butter. I served this with asparagus salad, roasted potatoes and fresh melon.
SO yummy!
Happy Phat Tuesday!


